Add or Edit a Database DSN
- If Emission Master is not connected to a valid database an error message will appear. Acknowledge the error message and the Database Options tab should open. If the settings dialog does not open then select the Options / General Options menu command.

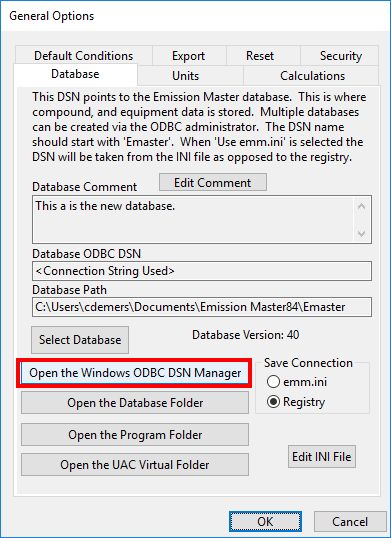
- Press the [Open the Windows ODBC Manager] button.
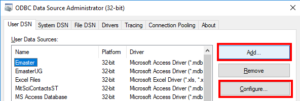
- If you are updating a DSN select it from the list and press the [Configure] button. If you are adding a new DSN press the [Add] button.
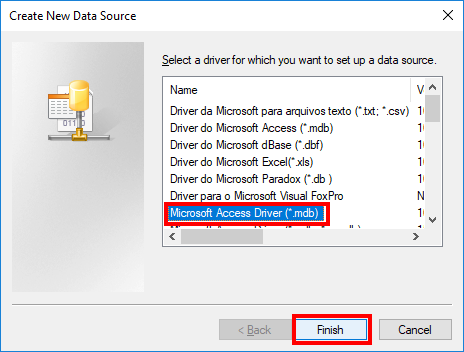
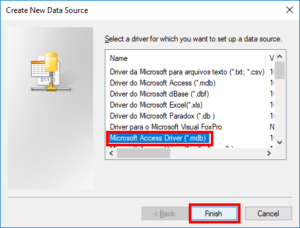
- If you are adding a DSN select “Microsoft Access Driver (*.mdb)” from the list.
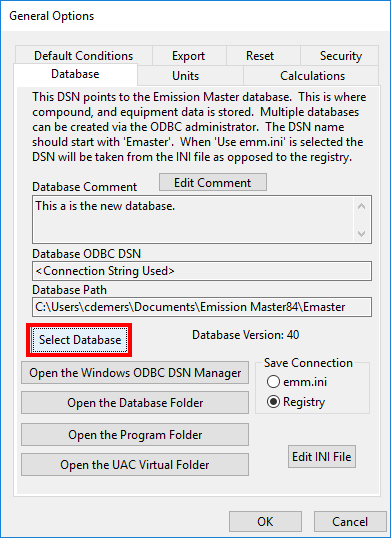
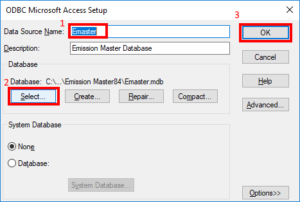
- If you are editing or adding you can change the name of the DSN. The name must start with “Emaster” for it to be visible in Emission Master and Emissions Accountant. Press the [Select] button to select the desired database and then press the [OK] button to accept the changes.
 You may now close the Windows ODBC dialog and return to Emission Master.
- Finally, to connect Emission Master to the new database press the [Select] button and choose your new DSN from the list.